When
I first showed a picture of my thread holder a number of people asked
if I had a pattern. I made mine one morning at my stitching morning, it
does not have a pattern so I thought I would show you how it is made.
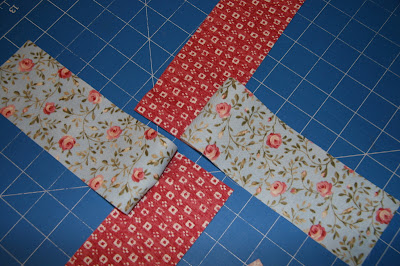
Firstly cut 4 strips 7 1/2 inches X 2 1/2 inches then 4 from a contrasting fabric.
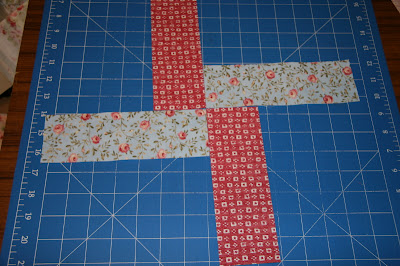
Lay them on your cutting board like this.

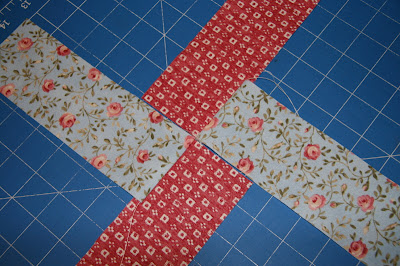
Lay the next 4 right sides together as above.
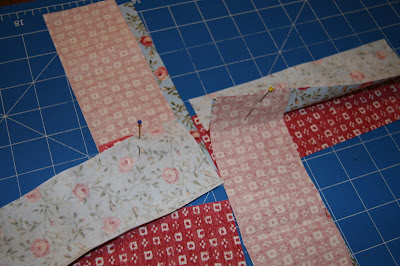
This step is important pick up the strips and put a pin in as above, then do the same to the bottom layer.
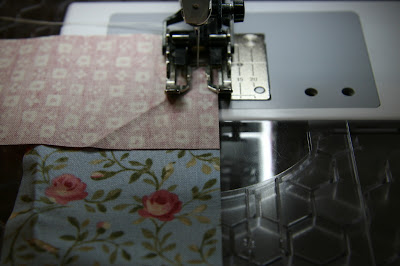
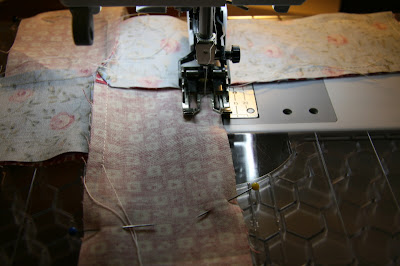
Sew together with a 1/4 inch seam.
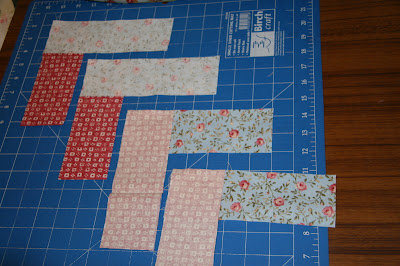
You should have 4 pieces like this. Press seams open.
Lay 2 on your cutting mat as above.

Flip
one over so that you have right side together, and seams meeting. Sew
together with a 1/4 inch seam. Do the same with the other 2 pieces.

Press seams. You will now have 2 pieces that look like this.

Lay them right side together you should have contrasting fabrics on top of one another.
Sew
around the outside with a 1/4 inch seam leaving a small hole for
turning. Clip the top corners and clip into the the inside corners. Turn
inside out roll and press the seams. Slip stitch the opening closed.

Fold one arm on to the next one. As above.

I use ladder stitch to join these seams. Starting from the inside corner going to the open end.
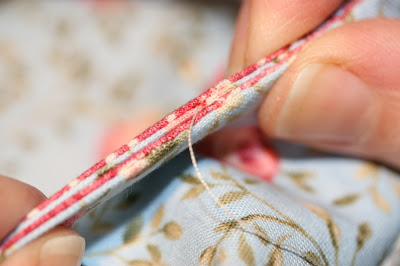
As you can see you are joining then together along a seam.
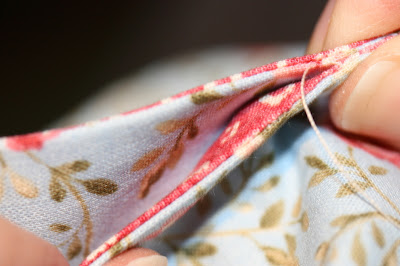
Taking care to catch the side that are closest. Do this for all 4 arms.
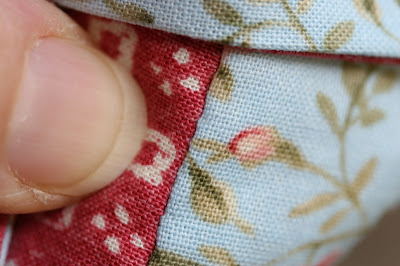
Your seams if done correctly will have a wrong and a right side. Above is the right side which will be the outside.
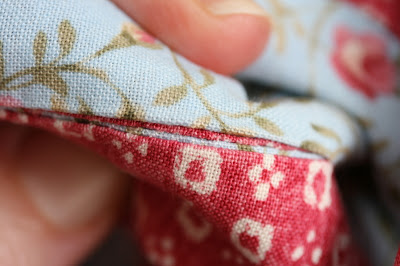
This
is how the inside will look. If you look at the finished holder it has a
section that folds over I stitch up to about 3/4 inch from the top then
place the thread through and stitch the seam the other way. This is
hard to explain but if you stitch the same way all the way to the end of
the seam you will have an inside seam on the outside when you fold the
top over.
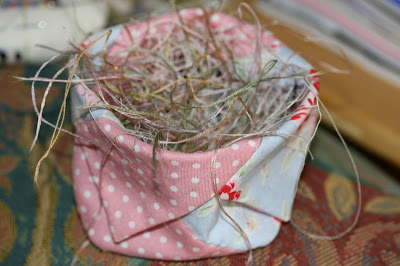
This is my thread holder as it sit on the arm of my lounge. I should empty it more often.
As
always use this pattern as it was intended do not reproduce it in any
way. It would be nice to see some finished thread holders. I know lots
of people visit and do not leave a comment so let me know how you go
with this.
They are great little inexpensive - quick to make gifts.
One wet cold afternoon when boredom had set in the family found another use for it.......